Work Jira tickets in GUIJam
Create tickets#
Any of these works:
- In Jira: + Create, work type Task. Describe the change and attach a screenshot or mockup. Images are attached to the developer's prompt as references.
- Send to GUIJam: on a ticket, open ••• and choose Send to GUIJam. It then appears under Sent to GUIJam in every developer's ticket list.
- From the running app: Report to Jira on any element.
- From the terminal, for scripts and demos:
npx guijam jira create --project WEB --summary "Make the Subscribe button blue" \
--description-file notes.md --image mockup.pngLink a ticket to an element#
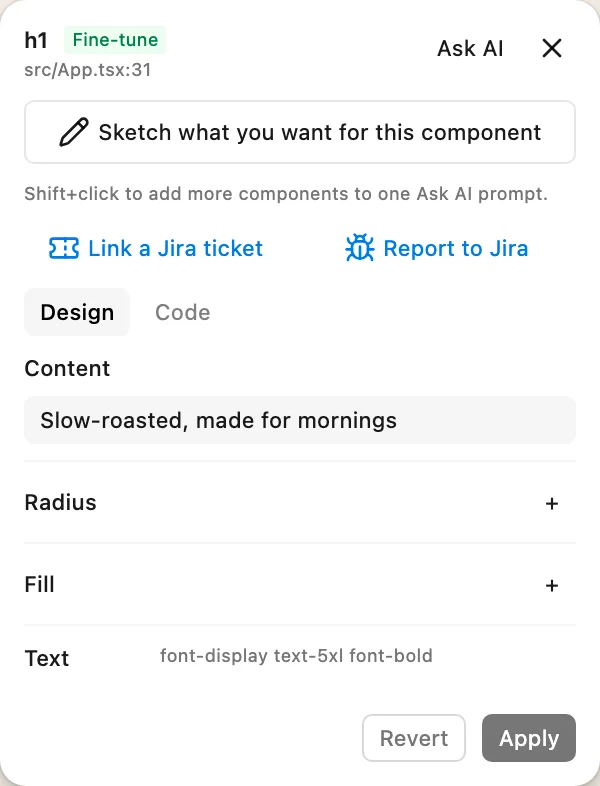
- Click Select object in the toolbar, then click the element the ticket is about.
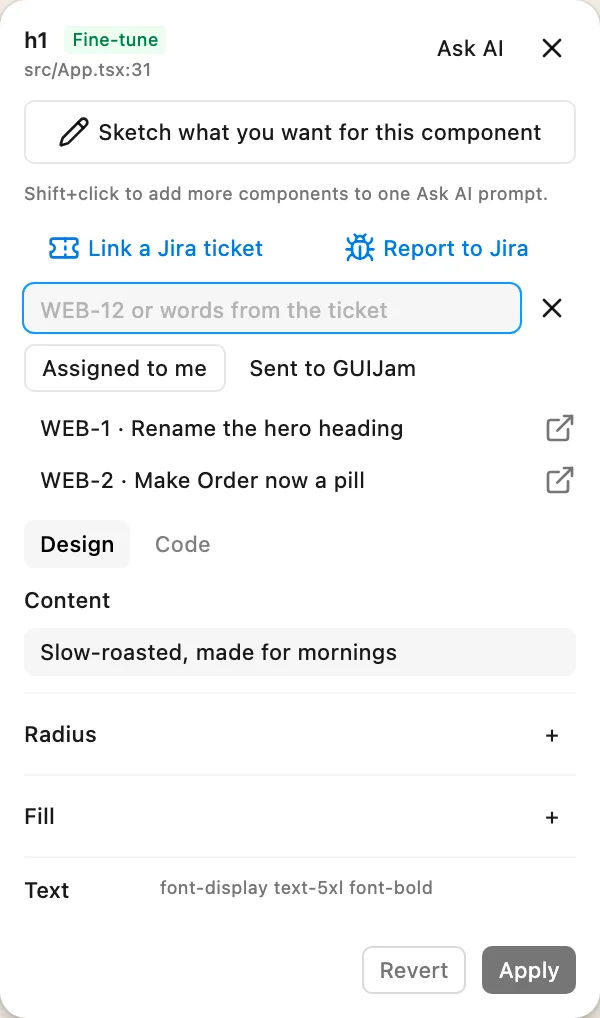
- In the panel, click Link a Jira ticket. Pick from Assigned to me or Sent to GUIJam, or type a key or words.
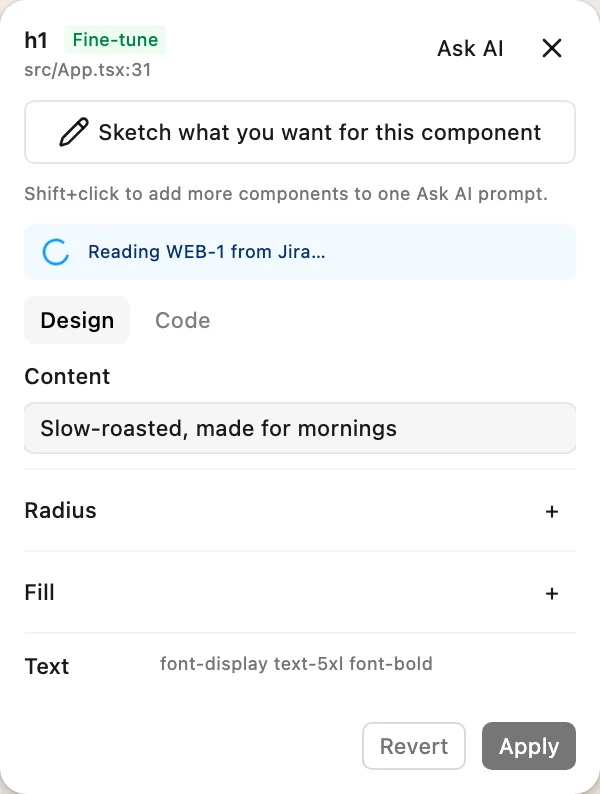
- GUIJam reads the ticket, takes a before screenshot of the element, and marks the ticket In progress.
Make the change without AI#
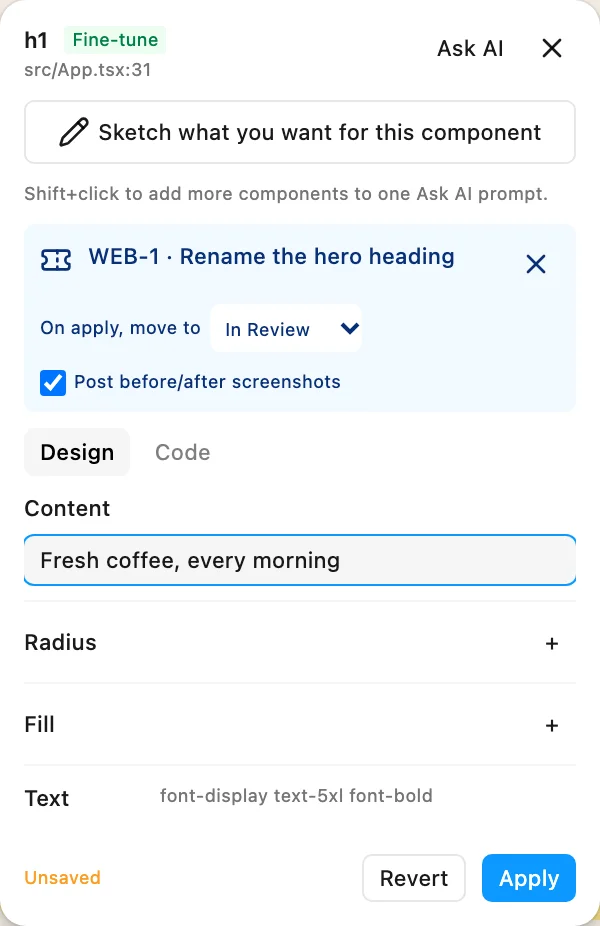
- Choose where the ticket moves on apply, such as In Review, and keep Post before/after screenshots on.
- Edit what the ticket asks: the text under Content, or Fill and Radius. The page updates live and nothing is written yet.
- Click Apply. One line is written to your source file, and the notice says when it posts.


Ask your AI CLI instead#
- From the Select panel, click Ask AI, or circle the element with Draw.
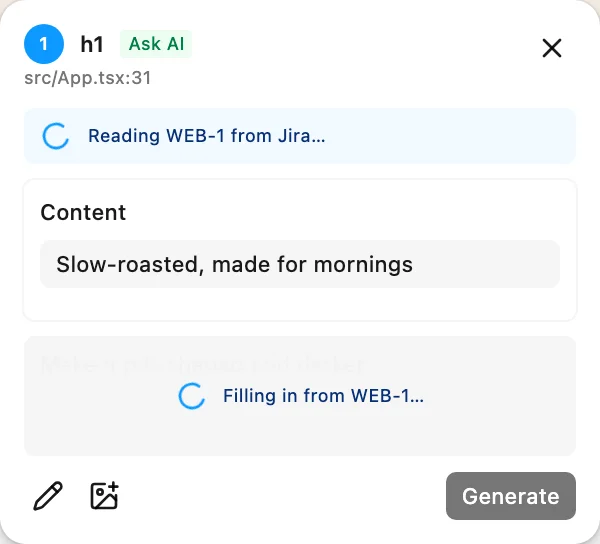
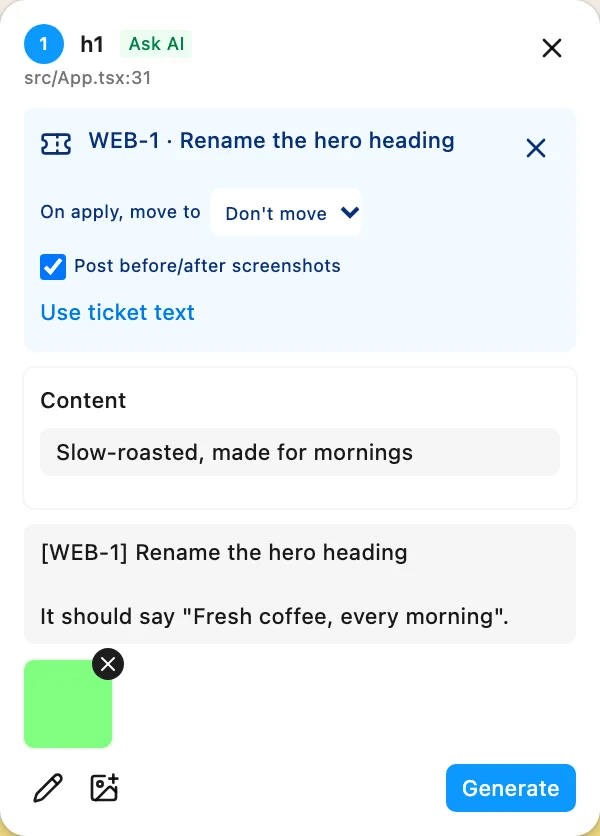
- Click Link a Jira ticket and pick one. If the prompt is empty, GUIJam fills it with the ticket's key, summary and description, and attaches up to four of its images. The prompt is locked with a spinner while that happens. Later, Use ticket text fills it again.
- Edit the prompt if you like, then Generate. Pick one of three live variants and click Use.
- It posts to the ticket 10 seconds later, like a direct edit, and says which CLI and model made it.
Review the result in Jira#
Open the ticket and its GUIJam panel. Nobody needs GUIJam installed to see:
- Status: Applied, with the source location, for example
src/App.tsx:18. - Who and how: the person who applied it, when, and "Direct edit, no AI" or the CLI and model.
- Before and after screenshots, also attached to the ticket.
- The diff of every changed file. Long changes attach a full
.patch. - Open in GUIJam: on the developer's machine, opens the app with that ticket ready to link again.
The app also adds a comment that mentions the developer, and moves the ticket if they chose a status. Search with JQL:
guijamStatus = queued                       # waiting for a developer
guijamStatus = applied AND updated >= -7d
guijamFile ~ "Pricing"                      # changes in a given file
Report to Jira#
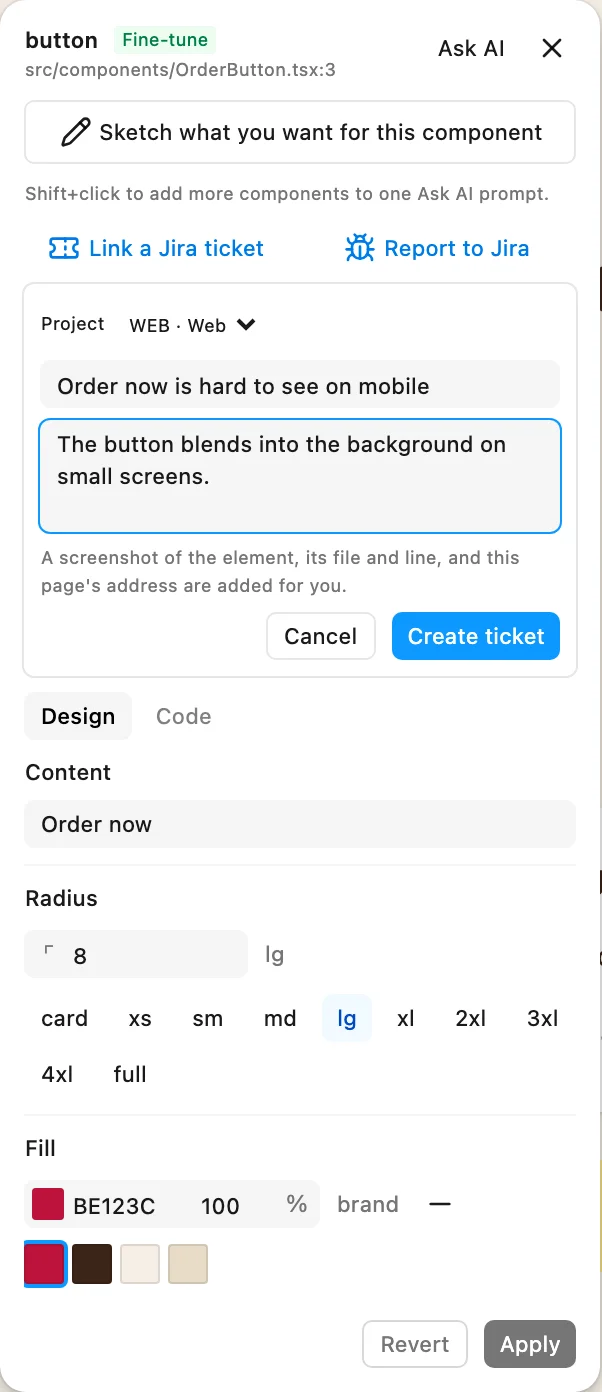
Anyone running the app with GUIJam paired can file a precise ticket:
- Select object, click the element, then Report to Jira.
- Pick the project, write a summary and details, and click Create ticket.
- GUIJam adds a screenshot of the element, its file and line, and the page address. The new ticket is marked Sent to GUIJam, so it lands in developers' lists.